
Sticker stains can be extremely frustrating to remove. It’s like the sticker is permanently attached to your laptop. The good news is that there are a few tried and true methods for removing these pesky stickers, and we will show you how to remove them below. Let’s get started!
Factors to Consider When Removing Sticker Stains from Your Laptop
On laptops, it is common to find stickers that have been placed in various locations on the unit. Laptop users often customize their laptops by placing stickers of different shapes and sizes in places they feel are appropriate.
These sticker designs can vary depending on how much customization is desired for a particular laptop model, so there are no set standards when it comes to laptop sticker designs.
However, care must be taken when removing stickers from a laptop because the sticker material is not always removable and, if removed improperly, can cause damage.

When considering how to clean a laptop with sticker residue on it, there are several factors that should be considered in order for the residue to be properly removed:
- If you decide to use a commercial cleaning product, then it is best to select one that does not contain ammonia because this can cause discoloration of the laptop’s material.
- Abrasive cleaners should be avoided when removing sticker residue from a laptop because they can damage the laptop’s finish and possibly scratch the surface.
- If there are any small pieces of the sticker that are not easily removable, then it is best to trim them off with a small craft knife before attempting to clean the laptop.
- Try cleaning from the bottom up when removing sticker residue from a laptop, because this will minimize the risk of scratching.
- Never use a razor blade to clean sticker residue from a laptop if you have previously used an adhesive cleaner on it, as it will lift some of the paint off.
- If you decide to use a razor blade, make sure it isn’t a new or sharp blade, because this could cause scratches on the laptop finish.
- In order to protect your hands, make sure that they are not damp when removing the residue, because touching the sticky material could leave a residue on your hand.
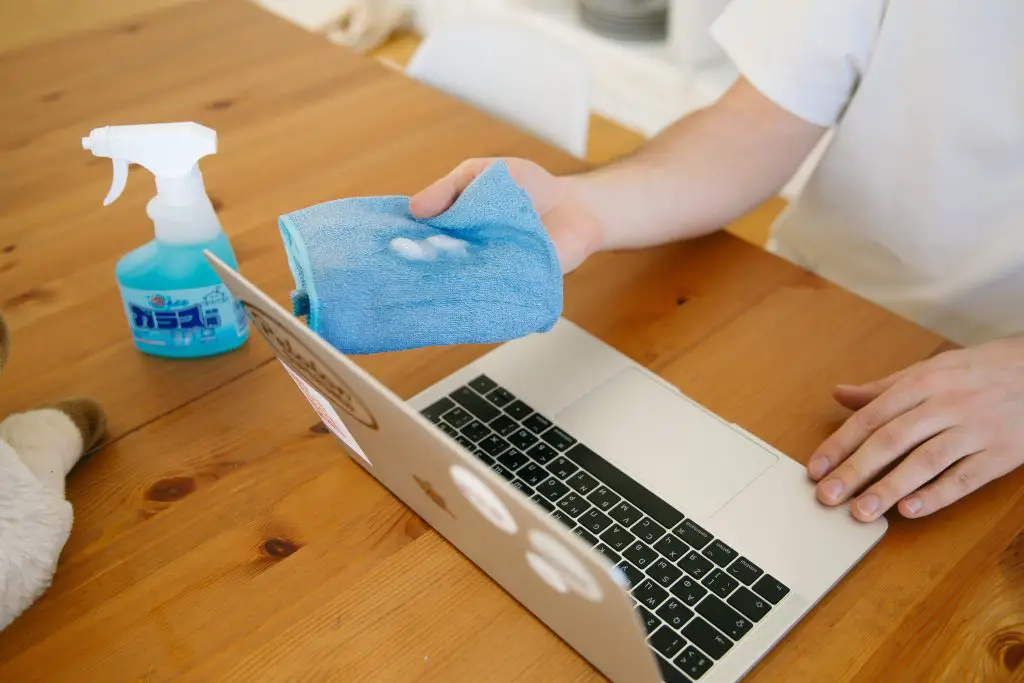
How To Remove Sticker Stains from Laptop
Sticker stains can be an eyesore and can damage your laptop. If you’ve found that your favorite band’s sticker has left its mark on the corner of your screen, this article will help solve your problem. Below are the different ways in which you can remove sticker stains from your laptop:
Using gasoline
- Take an empty spray bottle and pour in some gasoline.
- Make sure that you don’t fill the bottle up too much; half-full is enough. You don’t want it spilling or leaking on your laptop.
- Spray the gasoline onto the affected area of your laptop screen. Give it about 15-20 seconds to settle in.
- Take a clean cloth and wipe off the excess gasoline carefully. Make sure you don’t spread it around too much. Wipe out any of the residues that may be left behind with the same cloth or cotton swab.
Using Acetone
- Take an empty spray bottle and pour in some acetone.
- Make sure that you don’t fill the bottle up too much; half-full is enough. You don’t want it spilling or leaking on your laptop.
- Spray the acetone onto the affected part of your laptop screen. Give it about 15-20 seconds to settle in.
- Take a clean cloth and wipe off the excess acetone carefully. Make sure you don’t spread it around too much. Wipe out any of the residues that may be left behind with the same cloth or cotton swab.
Using degreaser
- Take a clean cloth and fold it up into a small, thick pad. You can also use your fingers to gain access to the crevices of the sticker to work it out.
- Dab the affected area generously with the degreaser using your fingers and allow it about 30 seconds to settle in.
- Using a soft brush or toothbrush, start scraping off the sticker stains.
- Take a clean cloth and wipe off the excess degreaser carefully. Make sure you don’t spread it around too much. Wipe out any of the residues that may be left behind with the same cloth or cotton swab.
Using baby oil

The steps for using baby oil to remove sticker residue are similar to those using a degreaser.
- Dab a clean cloth or cotton swab into baby oil.
- Pat the affected area firmly with the cloth/swab and allow it about 30 seconds to settle in.
- Using a soft brush or toothbrush, start scraping off the sticker.
- Take a clean cloth and wipe off the excess baby oil carefully. Make sure you don’t spread it around too much. Wipe out any of the residues that may be left behind with the same cloth or cotton swab.
Using WD-40
- Spray the affected area with WD-40.
- Allow it about 10 minutes to settle in.
- Using a soft brush or toothbrush, scrape off the sticker residue.
- Take a clean cloth and wipe off the excess WD-40 carefully. Wipe out any of the residues that may be left behind with the same cloth or cotton swab.
Using non-acetone nail polish remover
- Put some non-acetone on a clean cloth or cotton swab.
- Pat the affected area firmly with the cloth/swab and allow it to sit for about 30 seconds.
- Use a soft brush or toothbrush to gently brush off the sticker residue in the affected area.
- Take a clean cloth and wipe off the excess nail polish remover carefully. With the same cloth or cotton swab, wipe out any of the residue that may be left behind.
Using Goo Gone Adhesive Remover
- Take a clean toothbrush and spray some Goo Gone Adhesive Remover on it.
- Gently brush off the sticker residue on the affected area.
- Take a clean cloth and wipe off the excess Goo Gone carefully. Make sure you don’t spread it around too much. Wipe out any of the residue that may be left behind with the same cloth or cotton swab.
Using hairspray
- Take a clean cotton ball and soak it up with a generous amount of hairspray.
- Blot the affected area with the cotton ball to allow it about 30 seconds to settle in.
- Gently brush off the sticker in the affected area.
- Take a clean cloth and wipe off the excess hairspray carefully. Make sure you don’t spread it around too much. Wipe out any of the residue that may be left behind with the same cloth or cotton swab.
Using Baking Soda and a Toothbrush
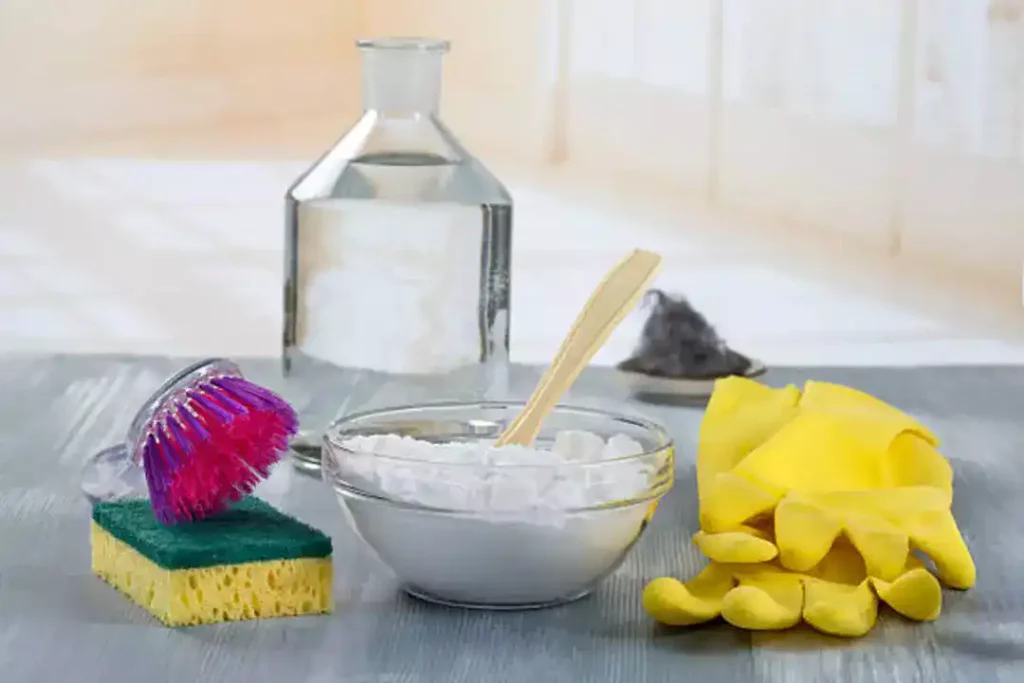
- Take a clean toothbrush and spray some baking soda on it.
- Gently brush off the sticker in the affected area.
- Take a clean cloth and wipe off the excess baking soda carefully. Make sure you don’t spread it around too much. Wipe out any of the residue that may be left behind with the same cloth or cotton swab.
Interested in reading similar articles? Click here.
Final Thoughts
Removing sticker stains from a laptop can be done in several ways. The process is generally similar, but it depends on the type of surface you use and how difficult it is to remove the adhesive residue. If you need help with this or any other cleaning project, kindly check out other articles on our blog. Good Luck!