Hey there, fellow laundry-doers! Did you know that the average American family does about eight loads of laundry per week? That’s a lot of clothes to clean and fold!
With such a constant flow of dirty laundry, it’s easy for the laundry room to become a cluttered and chaotic mess. However, keeping your laundry room clean and organized doesn’t have to be a daunting task. By creating a simple cleaning checklist, you can easily maintain a tidy space that not only looks great but also functions efficiently.
Let’s face it – no one wants to spend more time than necessary in the laundry room. We all have better things to do with our time than sorting through piles of dirty clothes or searching for lost socks.
That’s why having an organized and clean laundry room is so important – it helps us save time and frees up mental energy for other tasks. Plus, when everything is in its proper place, doing laundry can actually feel less like a chore and more like an accomplishment.

So, let’s dive into some tips for creating your own personalized laundry room cleaning checklist that will help you reclaim control of this often-overlooked space in your home.
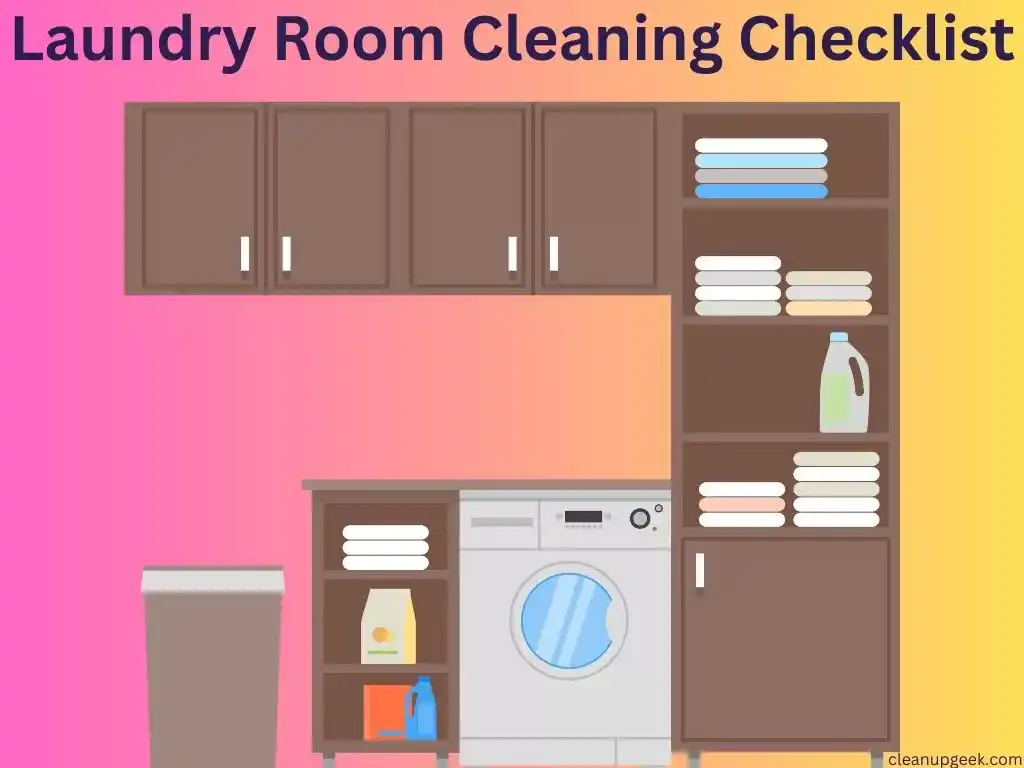
Decluttering Countertops And Shelves

Hey there! Are you tired of walking into your laundry room and feeling overwhelmed with clutter? Look no further than this decluttering checklist. With a minimalist approach, we’ll tackle countertops and shelves to create a sense of freedom in your space.
Let’s start by taking everything off the countertops and shelves. As you go through each item, ask yourself if it’s something you use regularly or if it’s just taking up valuable space.
Creative storage solutions like baskets or bins can be used to corral loose items. Don’t be afraid to add some decorative accents that serve a purpose, like a vase for your laundry detergent pods or a colorful tray for your dryer sheets.
If you’re feeling crafty, DIY solutions can also help maximize storage space while adding personality to the room. For example, repurposing an old ladder as shelving or using PVC piping to create a hanging drying rack are both space-saving tips that add unique touches to the room. The possibilities are endless!
Now that we’ve cleared out the clutter and incorporated some creative storage solutions, let’s move on to sorting and organizing our laundry supplies.
Sorting And Organizing Laundry Supplies

Remember when I mentioned that in order to keep a clean and organized laundry room, it’s important to sort and organize your laundry supplies? Well, let’s dive right into that.
One of my favorite ways to do this is by labeling containers. This not only makes it easier to find what you need but also adds a touch of personality to your space. You can use fun stickers or even create your own labels with a label maker.

Another helpful tip for maximizing space is finding inspiration online. Pinterest is a great resource for DIY solutions that can help you make the most out of your laundry room. Whether it’s creating your own hanging drying rack or installing shelves above your washer and dryer, there are endless possibilities for making your space work for you.
By simplifying routines and taking advantage of every inch of space, you’ll be able to transform your laundry room from cluttered to functional.
Overall, sorting and organizing laundry supplies doesn’t have to be a chore. With a little creativity and some simple hacks, you can turn this task into something enjoyable.
Now that we’ve tackled this step, let’s move on to cleaning the washing machine – an essential part of keeping your clothes fresh and clean.
Cleaning The Washing Machine
When it comes to laundry room maintenance, cleaning your washing machine is a crucial task that shouldn’t be overlooked. Over time, your machine can accumulate dirt, grime, and detergent buildup, which can lead to unpleasant odors and even mold growth. Luckily, with a few simple tips and tricks, cleaning your appliance is an easy and hassle-free process.
Firstly, it’s important to run a cleaning cycle every once in a while. This will help remove any buildup inside the machine and prevent future problems from occurring. Simply add some white vinegar or baking soda to the drum and run the machine in a hot water setting. You can also purchase specialized washing machine cleaners for an extra deep clean.
In addition to running regular cleaning cycles, there are other steps you can take to maintain your washing machine. Avoid overloading the drum with clothes as this can cause strain on the motor and other parts of the appliance.
It’s also important to choose the right detergent for your machine – look for eco-friendly options that won’t harm your appliance or the environment.
Finally, if you do experience any common washing machine problems such as leaks or strange noises, don’t hesitate to call in a professional for repairs. By keeping up with regular maintenance and using eco-friendly cleaning solutions, you’ll ensure that your washing machine stays in top condition for years to come.
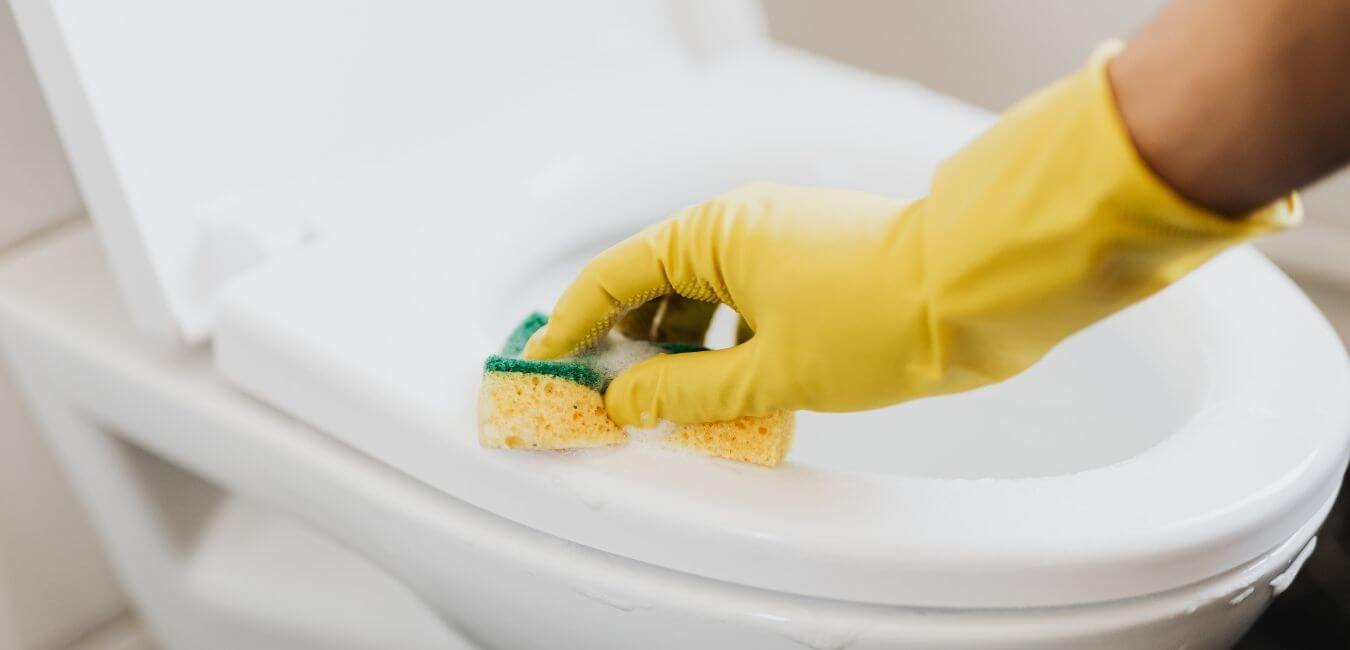
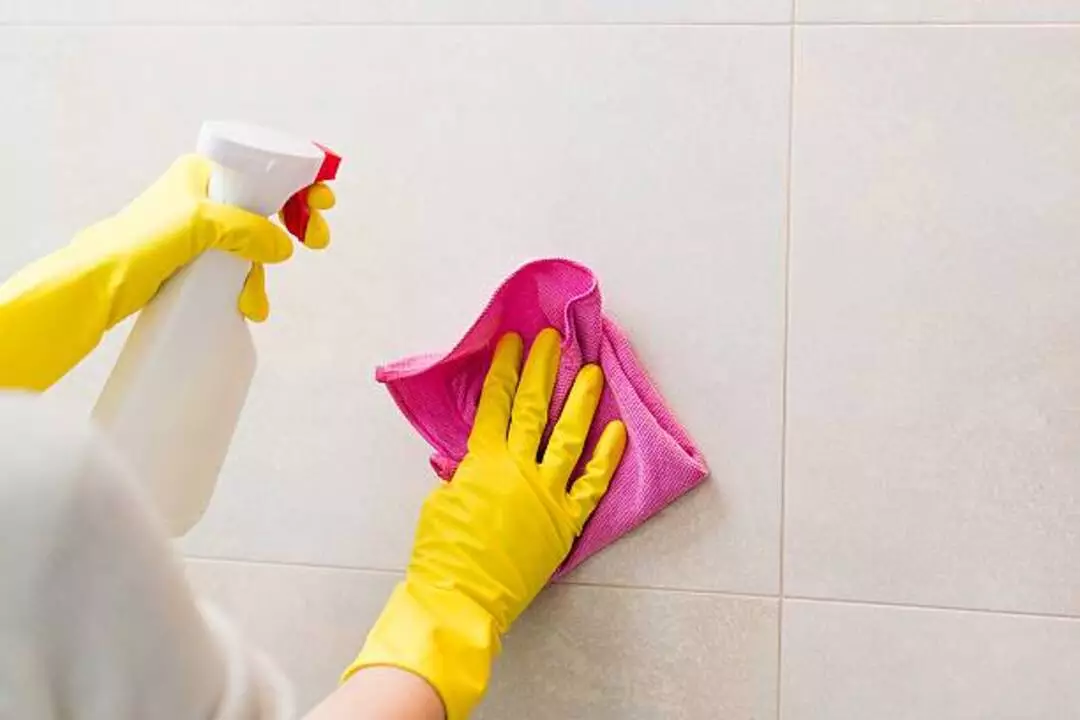
Scrubbing The Sink And Faucet

Now it’s time to tackle the sink and faucet. Don’t worry, with the right scrubbing techniques and cleaning solutions, this won’t take too long.
First, start by spraying the sink with your chosen cleaner and letting it sit for a few minutes. This will loosen up any grime or stains that have accumulated over time.
Next, grab a scrub brush or sponge and start scrubbing away at any stubborn stains or buildup. Don’t forget to get in all the nooks and crannies around the faucet and handles. For tough grout cleaning, try using a toothbrush to really get in there and remove any dirt or mildew.
After you’ve thoroughly cleaned the sink and faucet, perform some basic maintenance on the faucet itself. Check for any leaks or drips and tighten any loose parts as needed. If you notice any discoloration on the metal, consider using a specialized cleaner to restore its shine.

Now that your sink is sparkling clean, it’s time to move on to dusting light fixtures and ceiling fans. But before we do that, make sure to rinse off your scrub brush or sponge so it’s ready for next time!
Dusting Light Fixtures And Ceiling Fans
I know what you’re thinking – dusting light fixtures and ceiling fans are such a hassle. But trust me, it’s an important step in keeping your laundry room clean and fresh. Not only does it prevent dust buildup, but it also improves the efficiency of your lighting and prevents unnecessary energy costs.
When it comes to ceiling fan maintenance, it’s important to turn off the fan and wait for the blades to stop moving before cleaning them. Use a microfiber cloth or a gentle brush to remove any dust or dirt that has accumulated on the blades.
For light fixture cleaning tips, use a soft cloth or duster to gently wipe down each fixture. If there are any stubborn stains or grime, mix warm water with a mild detergent and use a soft-bristled brush to scrub away the dirt.
Preventing dust buildup in your laundry room can be as simple as using the right dusting tools and choosing energy-efficient lighting options. Opt for LED lights instead of incandescent bulbs, as they not only save energy but also produce less heat which attracts less dust. As for dusting tools, try using an electrostatic duster or a microfiber cloth rather than traditional feather dusters which can often just spread dust around.
Now that you know how easy it is to maintain clean light fixtures and ceiling fans, let’s move on to wiping down doors and door knobs. But before we do that, take pride in knowing that these small steps can make all the difference in creating an inviting laundry room space that you’ll actually look forward to spending time in.
Wiping Down Doors And Door Knobs
Now, let’s move on to wiping down doors and door knobs. This is a crucial step in maintaining good door knob hygiene and preventing the spread of germs in your laundry room. Make sure to add this task to your cleaning checklist and do it regularly, especially if multiple people are using the laundry room.
Cleaning frequency will depend on how often the laundry room is used. If it’s a high-traffic area, then wipe down the doors and door knobs at least once a week. For low-traffic areas, once every two weeks should suffice. There are various disinfectant options available that can be used to clean these surfaces, such as bleach or alcohol-based solutions. Just make sure to follow instructions carefully and wear gloves when applying them.

In addition to regular cleaning, there are some tips for door maintenance that can help prolong their lifespan. Avoid slamming doors as this can cause damage over time. Keep an eye out for any loose screws or hinges and tighten them as needed. By taking good care of your doors, you can save money on repairs or replacements in the long run.
Moving forward into vacuuming and sweeping floors, remember that a clean floor not only looks great but also helps prevent allergens from building up.
Vacuuming And Sweeping Floors

Now that we’ve gathered all the necessary floor cleaning supplies, it’s time to start vacuuming and sweeping the floors.
Using a vacuum is the most efficient way to remove dirt and debris from your laundry room floor. Make sure to move any furniture or appliances out of the way to ensure you can reach every corner. When using a vacuum, it’s important to pay attention to the corners of the room where dust and dirt tend to accumulate. Take your time and use attachments such as crevice tools to get into those hard-to-reach areas.
Once you’ve finished vacuuming, it’s time to move on to sweeping the floor. Sweeping the floor is another essential step in keeping your laundry room clean and tidy. Use a broom or a dust mop to collect any remaining debris on the floor before moving on to mopping techniques. Pay close attention again to the corners of the room where dirt tends to accumulate.
With these simple steps, your laundry room floors will be spotless in no time! And now, let’s move on to mopping hard floors.
Mopping Hard Floors
Now that the hard floors are swept and free of debris, it’s time to mop them! Proper technique is key to getting your floors clean and avoiding streaks.
Start by filling a bucket with warm water and adding a small amount of a cleaning solution that works best for your specific type of flooring. Avoid using too much cleaner, as this can leave residue and make the floors sticky.
When mopping, work in small sections and use a figure-eight motion to cover the area thoroughly. Make sure to wring out the mop well before starting each new section to avoid spreading dirty water around.
One common mistake people make when mopping hard floors is not changing out the water frequently enough. If you notice the water turning brown or murky, it’s time for a fresh batch.
If you’re looking for time-saving tips or eco-friendly options, consider investing in a steam mop or using microfiber cloths instead of traditional mops. Steam mops use high heat to clean without any chemicals, while microfiber cloths can be washed and reused multiple times. Plus, they’re more effective at picking up dirt and grime than regular mops.
Now that your hard floors are sparkling clean, let’s move on to cleaning windows and window sills!
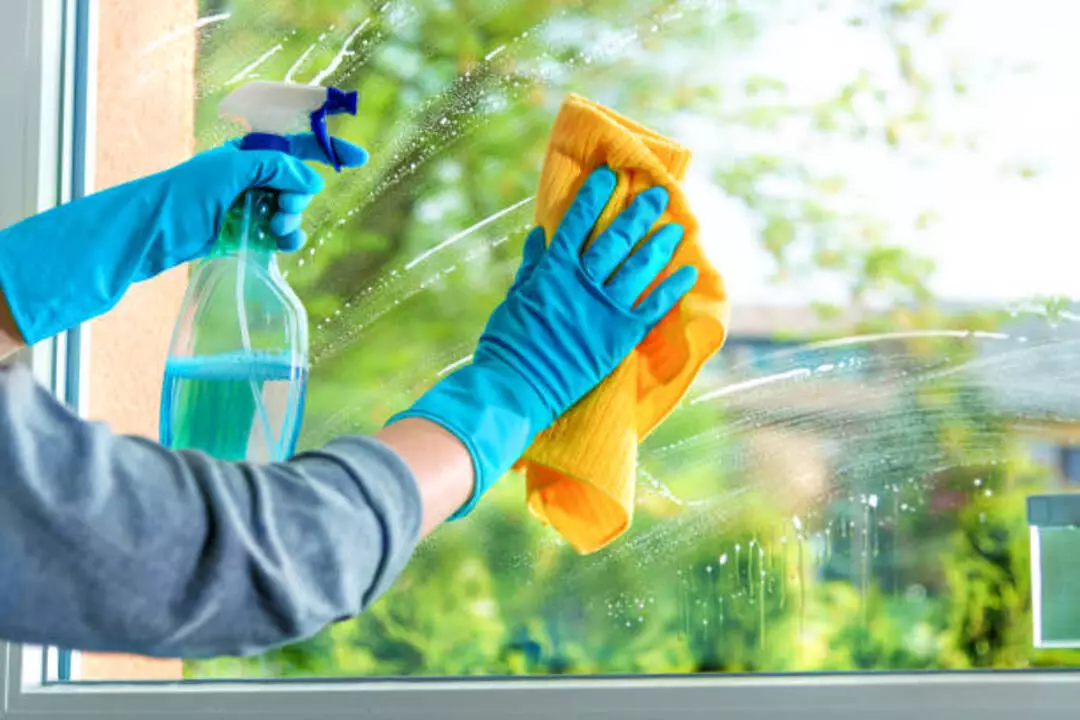
Cleaning Windows And Window Sills

Alright, let’s tackle those windows and window sills! This part of the laundry room cleaning checklist can be a bit daunting, but with the right tools and DIY tips, you’ll have it done in no time.
First things first, gather your cleaning solutions. Opt for natural cleaners to avoid harsh chemicals that could potentially harm your respiratory system.
Next up: Cleaning Tools. Grab a microfiber cloth or a sponge and a squeegee if you have it on hand. If not, a paper towel or newspaper will do just fine!
Now that you’ve got your tools ready to go, it’s time to get started on those windows and sills. Start by spraying your natural cleaner onto the glass surface and wipe it down in circular motions with your microfiber cloth or sponge.
The key to streak-free windows is all in the technique! Once you’ve finished wiping down the surface, use your squeegee (or paper towel/newspaper) to remove any excess liquid from the surface. Voila – sparkling clean windows!
Don’t forget about those window sills – they can collect dirt and dust over time. Simply wipe them down with your chosen cleaning solution and cloth/sponge to leave them looking as good as new.
As we move on to disinfecting high-touch surfaces, keep in mind the importance of using natural cleaners for a healthier living environment.
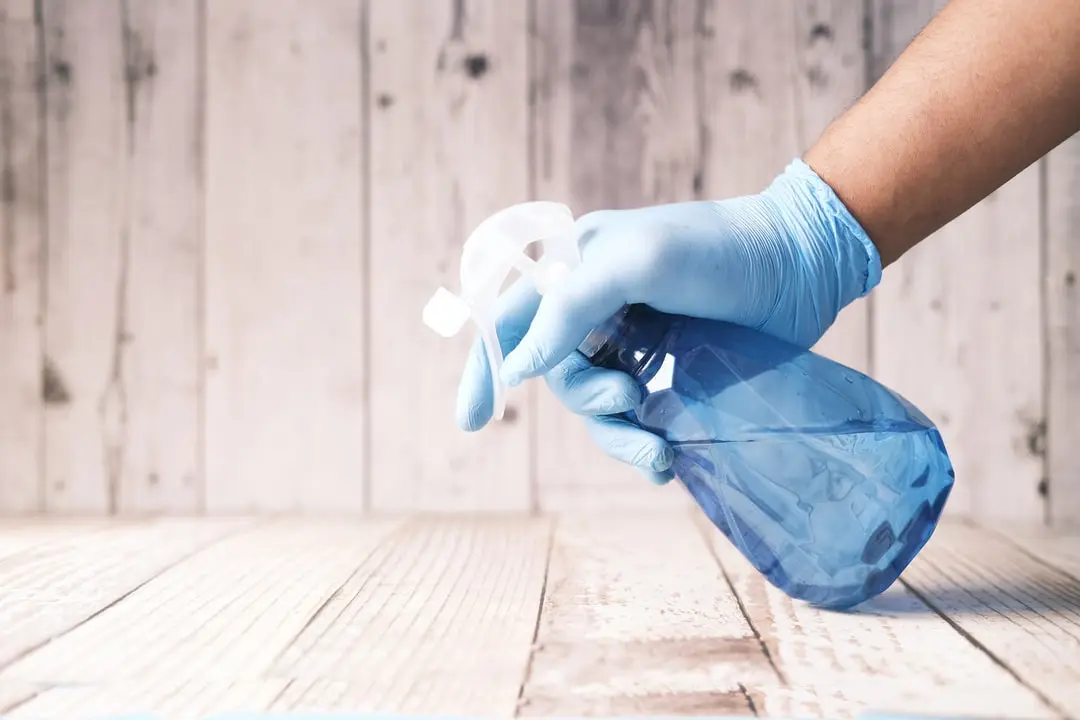
Disinfecting High-Touch Surfaces
Alright, let’s talk about disinfecting techniques for high-touch surfaces. These are the germ hotspots in your laundry room that require frequent attention to keep your home sanitation on point. High-touch surfaces include doorknobs, light switches, washing machine knobs, and dryer doors.

To clean these areas effectively, start by using an appropriate cleaning solution that is safe for use on the specific surface. For example, a bleach solution may be effective on doorknobs and light switches but not on painted surfaces. Take care to follow the instructions carefully and always wear gloves when handling cleaning solutions.
When it comes to cleaning solutions, there are plenty of options available on the market today. From natural cleaners like vinegar and baking soda to commercial products like disinfectant wipes and sprays, choose the one that works best for you and your family’s needs.
Now that we’ve discussed some basic disinfecting techniques for high-touch surfaces let’s move on to dusting and cleaning baseboards.
- Choose a cleaning solution that is appropriate for each surface
- Follow instructions carefully when using cleaning solutions
- Wear gloves when handling cleaning solutions
- Consider using natural cleaners as an alternative
- Choose a product that is effective against germs
Dusting And Cleaning Baseboards
When it comes to keeping your laundry room clean, dusting and cleaning baseboards might not be at the top of your list. But neglecting these areas can lead to a buildup of dust and cobwebs that will make your whole laundry room feel dirty and uninviting.

Fortunately, there are some easy cleaning techniques you can use to keep your baseboards looking their best. One of the most effective products you can use is a microfiber cloth. These cloths are specially designed to pick up dust and dirt without leaving behind any streaks or residue. Simply dampen the cloth with water or a cleaning solution and run it along the baseboards. For tough stains or buildup, you can also try using a scrub brush or an old toothbrush.
If you’re short on time, there are some time-saving tips you can use to make this task go more quickly. For example, consider using a vacuum cleaner with an attachment specifically designed for baseboards. This will allow you to quickly suck up any loose debris without having to get down on your hands and knees. You could also try using DIY solutions like vinegar or baking soda mixed with water for an all-natural cleaning option that won’t harm your family or pets.
Preventing dust buildup is key when it comes to keeping your baseboards clean over time. One simple trick is to place mats at the entrance to your laundry room to catch dirt and debris before it gets tracked inside. You can also try wiping down your baseboards on a regular basis using one of the methods mentioned above. By staying on top of this chore, you’ll be able to enjoy a cleaner, more inviting laundry room in no time.
Now that we’ve covered how to dust and clean baseboards effectively, let’s move on to another important task: cleaning the dryer vent.
Cleaning The Dryer Vent
As we finish up dusting and cleaning the baseboards, it’s important to remember that there is still more work to be done in the laundry room. Neglecting certain areas of the room can lead to bigger issues down the line.
One area that often goes overlooked is the dryer vent. It may not seem like a big deal, but removing lint buildup from your dryer vent can actually prevent fires and improve your machine’s efficiency.
Proper vent installation is key to keeping your laundry room safe and functional. Be sure to check that your vent is securely connected and free of any obstructions. If you’re experiencing slow drying times or notice a burning smell coming from your dryer, it might be time for some maintenance.
Luckily, there are many DIY cleaning methods available online that can help you get back on track. If DIY isn’t your forte, professional cleaning services are also available. While they may come with a price tag, it’s important to consider the potential risks of neglecting this task altogether.
Regular maintenance should always be a priority when it comes to appliances in your home. Taking care of them properly not only saves you money in the long run but also provides peace of mind knowing that everything is running smoothly.
Now that we’ve covered proper dryer vent maintenance let’s move on to checking and replacing light bulbs.
Checking And Replacing Light Bulbs
Okay, so we all know how important it is to have a well-lit laundry room. The last thing you want is to be folding clothes in the dark or trying to find that missing sock under the dryer without proper lighting. That’s why it’s crucial to check and replace light bulbs regularly.
First things first, if you’re experiencing flickering lights, don’t panic. It could simply be a loose bulb or connection. Try tightening the bulb or checking the wiring before assuming it’s a larger issue. If that doesn’t solve the problem, it may be time to replace the fixture altogether.
When it comes to choosing new bulbs, consider energy-efficient options like LED or CFL bulbs. They may cost a bit more upfront but will save you money in the long run by using less electricity and lasting longer. And if you’re looking for decorative lighting options, there are plenty of stylish fixtures out there that can add some personality to your laundry room.
Now that we’ve covered checking and replacing light bulbs, let’s move on to cleaning the ironing board and iron. Trust me, I know this isn’t exactly the most exciting task on your list, but it’s necessary for keeping your laundry room in tip-top shape.
Cleaning The Ironing Board And Iron
So, you’ve managed to check and replace all the light bulbs in your laundry room? Congratulations! You’re doing a great job so far.
Now, let’s move on to cleaning the ironing board and iron. I know I know – it sounds like a fun-filled activity that everyone wants to do on a lazy Sunday afternoon. But trust me when I say this – it’s an essential task that can make your clothes look brand new.
Firstly, let’s talk about ironing board maintenance. You need to ensure that your board is sturdy and doesn’t wobble while you’re using it. Check the legs and tighten any loose screws or bolts if necessary. Also, keep an eye out for any tears or holes in the padding of the board – if there are any, it’s time to get a new cover.
Speaking of covers – did you know that there are different types of ironing board covers available in the market? From heat-reflective ones to silicone-coated options, choose one that suits your needs.
Next up is cleaning the iron plate itself. Over time, mineral deposits can build up on the plate of your iron, making it less effective and leaving rust stains on your clothes. To clean it, mix equal parts vinegar and water in a spray bottle and spritz it onto the plate while it’s cool (never use vinegar on a hot plate!). Use a cloth to wipe off any residue or buildup gently. If there are stubborn rust stains on your clothes from previous uses of the iron, sprinkle some salt onto them before washing them as usual.
Lastly, let’s talk about storage solutions for your ironing board. Depending on how often you use it and how much space you have in your laundry room, you can opt for wall-mounted brackets or freestanding racks to store your board when not in use. Just make sure that wherever you store it is dry and well-ventilated to prevent mold or mildew from forming.
Now that you’ve got your ironing board and iron in tip-top shape, it’s time to move on to emptying and cleaning your trash cans. But before we get into that, let me tell you – your clothes are going to look amazing after all the TLC you’ve given them!
Emptying And Cleaning Trash Cans

Trash can maintenance is an important part of keeping your laundry room clean and organized. Emptying trash cans regularly ensures that waste doesn’t build up and create unpleasant odors. It also helps to reduce the risk of pests like mice and cockroaches, which are attracted to food scraps and other organic waste.
Proper disposal is key when it comes to trash can maintenance. Make sure you’re recycling as much as possible, including items like cardboard boxes, plastic bottles, and aluminum cans. This not only reduces waste but also helps to conserve natural resources. For non-recyclable items, consider using a compost bin if you have access to one. This will help turn food scraps and other organic materials into nutrient-rich soil for your garden or houseplants.
Odor control is another important aspect of trash can maintenance. To keep your laundry room smelling fresh, try sprinkling baking soda in the bottom of your trash cans before adding a new bag. You can also use scented garbage bags or air fresheners specifically designed for use in trash cans.
With these simple tips, you’ll be able to keep your laundry room looking and smelling great while reducing waste at the same time!
Now that we’ve covered proper trash can maintenance, let’s move on to organizing towels and linens. By taking a few simple steps, you can make sure that everything is easy to find when you need it, saving you time and frustration in the long run.
Organizing Towels And Linens
When it comes to organizing towels and linens, folding techniques are key. You want to make sure that everything is folded neatly and in a way that maximizes space.
One great technique for towels is the towel roll. Simply fold the towel in thirds lengthwise, then tightly roll it up from one end to the other. This not only saves space but also makes it easier to grab a single towel without disturbing the rest.
Storage solutions are also important when organizing towels and linens. If you have a linen closet, make use of shelves or baskets to keep everything in its place. Consider color coordination as well – grouping similar colors together can make finding what you need much easier.
If you don’t have a dedicated linen closet, try using storage bins under your bed or on top of a high shelf. Remember, organizing your towels and linens can be both functional and aesthetically pleasing. Don’t be afraid to get creative with your storage solutions and folding techniques to create a space that works for you.
And with everything organized, cleaning and deodorizing your hamper will be even easier – which we’ll cover in the next section!
Cleaning And Deodorizing The Hamper
When it comes to laundry, one of the most overlooked areas is the hamper. We tend to throw our dirty clothes in there and forget about them until it’s time to do a load. But have you ever thought about the odors that can build up in your hamper?
It’s important to clean and deodorize your hamper regularly to prevent mold growth and eliminate unpleasant smells. Deodorizing techniques vary depending on the materials of your hamper. For plastic or metal hampers, you can use a solution of water and vinegar or baking soda to get rid of odors. Simply wipe down the inside of the hamper with the solution using a cloth. For fabric hampers, you can wash them in the washing machine with a cup of white vinegar or a scoop of baking soda added to the cycle.
In addition to deodorizing your hamper, there are also some laundry tips that can help prevent odors from building up in the first place. Make sure you don’t leave damp clothes sitting in your hamper for too long as this can cause mold growth. You can also use odor eliminators such as charcoal bags or scented sachets to keep your hamper smelling fresh.
To prevent any water damage or leaks in your laundry room, it’s important to regularly check for any signs of moisture or damage. Look for any cracks or leaks in pipes and make sure your washing machine is properly connected and not leaking. By taking these steps, you can ensure that your laundry room stays clean and problem-free.
Checking For Leaks Or Water Damage
As luck would have it, checking for leaks or water damage is a crucial step in keeping your laundry room in tip-top shape. Let’s dive in and assess those pipes!
Start by examining all visible pipes for any signs of wear and tear, such as rust or corrosion. If you do spot anything concerning, it’s best to call a professional plumber to take a closer look.
Next up, investigate the walls around your washer and dryer. Look for any discoloration or soft spots that might indicate water damage. If you find anything suspicious, don’t hesitate to investigate further – water damage can quickly lead to mold growth if left unchecked.
After inspecting the walls, it’s time to evaluate the flooring. Check for any signs of warping or buckling that could indicate water damage from a leaky appliance or pipe. And while you’re at it, take a moment to check under your washer and dryer too – sometimes appliances can spring leaks without warning!
Now that we’ve covered assessing pipes, examining walls, and investigating flooring, let’s move on to checking appliances and evaluating drainage.
But before we get there, let’s talk about deep cleaning cabinets and drawers – an often-overlooked but important part of keeping your laundry room tidy and organized.
Deep Cleaning Cabinets And Drawers

Now that you’ve checked for leaks or water damage, it’s time to tackle the next task on our laundry room cleaning checklist: deep cleaning cabinets and drawers. This can seem like a daunting task, but with the right tools and mindset, you’ll have your storage spaces sparkling in no time.
First things first, take everything out of your cabinets and drawers. This will give you a chance to sort through your items and decide what needs to be kept, donated, or thrown away.
Once you’ve done this, assess the condition of your drawer liners. If they’re stained or damaged, it’s best to replace them before organizing your items back inside.
Next up is organizing systems. Make use of baskets or containers to keep similar items together (e.g., stain removers, detergents). Label makers are also a great investment if you want to keep things looking neat and tidy.
Once everything has its rightful place, use cleaning solutions to wipe down the insides of your cabinets and drawers before putting everything back inside.
Remember that maintaining a clean laundry room isn’t just about deep cleaning every once in a while. It’s important to establish a regular cleaning schedule so that dust and grime don’t accumulate again.
In the next section, we’ll explore some tips for maintaining your newly cleaned space so that it stays fresh and organized for longer periods of time.
Maintaining A Regular Cleaning Schedule
Did you know that people who stick to a cleaning schedule are more productive and less stressed? It’s true! According to a study conducted by the American Cleaning Institute, those who maintain a regular cleaning routine have a higher sense of accomplishment and control over their environment. And let’s face it, who doesn’t want to feel in control of their surroundings?
Creating a schedule can be daunting, but it doesn’t have to be. Start by setting realistic goals for yourself. Maybe you want to clean the laundry room once a week or twice a month. Whatever you choose, make sure it’s something that works for your lifestyle.
Once you’ve set your goals, find motivation by thinking about the benefits of having a clean space. Not only will it reduce stress and anxiety, but it’ll also save you time in the long run.
Sticking to routines can be challenging at times, especially when life gets busy. But tracking your progress can help keep you on track. Create a checklist or use an app to monitor your cleaning habits. Seeing that progress can give you the boost of motivation needed to keep going.
Remember, maintaining a regular cleaning schedule is all about consistency and dedication. Stick with it and soon enough, it’ll become second nature.
Conclusion and final thoughts 💭
In conclusion, keeping your laundry room clean and organized may seem like a daunting task, but with this checklist, it can be achieved easily.
Just imagine walking into your laundry room and being greeted by the fresh scent of detergent instead of a musty odor.
Picture clear countertops and neatly arranged supplies instead of cluttered chaos.
With a little effort and consistency, you can transform your laundry room from a dreaded chore to a pleasant oasis.
Remember to take pride in your space; it is where you clean the clothes that keep you looking and feeling fresh.
Let this checklist be your guide to a peaceful and functional laundry room.
So put on some music, grab some cleaning supplies, and get ready to enjoy the satisfaction of a job well done.