
Stains can be a real nuisance, but luckily there are effective techniques to remove them. As a homeowner, knowing these stain removal tricks can come in handy and save you from the frustration of stubborn marks on your clothes, carpets, and other surfaces.
In this blog post, we will explore stain removal techniques backed by factual data that every homeowner should know. So, get ready to tackle those pesky stains and keep your home looking clean and fresh.
Carpet Stains
A. Water and Vinegar Solution
A water and vinegar solution is a versatile stain removal technique that can be used on various surfaces, including carpets, fabrics, and blinds. Here are some key points about this effective and natural stain remover:
- Mix equal parts water and white vinegar to create the solution.
- Dampen a clean cloth or sponge with the solution.
- Gently blot the stained area with the damp cloth or sponge.
- Continue blotting until the stain starts to fade.
- Rinse the area with clean water to remove any residue.
- Repeat the process if necessary until the stain is completely removed.
- This solution is particularly effective for removing dirt buildup from blinds and mineral deposits from shower heads.

Using a water and vinegar solution for stain removal is not only cost-effective but also environmentally friendly. It’s important to note that vinegar has a strong odor, but it will dissipate once the solution dries. This technique is suitable for various common household stains and can be a handy tool for maintaining a clean and tidy home.
B. Removing Viscous Substances with Paper Towel
When dealing with viscous substances such as gum, wax, or sticky food stains, using a paper towel can be an effective method for removal. Here’s how to remove them using this technique:
- Start by gently scraping off as much of the substance as possible with a dull knife or spoon. Be careful not to push the substance further into the fabric.
- Place a few layers of paper towel over the remaining residue. Press down firmly to absorb as much of the substance as possible.
- Lift the paper towel and check if any residue remains. If there is, repeat the process until the substance is fully absorbed.
- After removing the substance, treat any remaining stain with an appropriate stain remover or detergent. Follow the product instructions for the best results.
- Launder the item as usual, following the care instructions on the garment.
Remember, it’s important to act quickly when dealing with viscous substances to prevent them from spreading or hardening. Using a paper towel can help remove the bulk of the substance, making it easier to treat the stain effectively.
Wall Stains
A. Dry Sponge for General Dirt Buildup
A dry sponge is a simple yet effective tool for removing general dirt buildup from various surfaces. Here’s how to use a dry sponge for cleaning:
- Select a dry sponge: Choose a clean and dry sponge that is suitable for the surface you want to clean. Different sponges have different textures and absorbency levels, so choose one that will work best for the specific dirt or debris you are trying to remove.
- Gently wipe the surface: Use the dry sponge to wipe the surface in a gentle and sweeping motion. The sponge will collect dirt particles, dust, and other deposits that have accumulated on the surface. Be careful not to press too hard, especially on delicate surfaces, to avoid causing any damage.
- Remove excess dirt: As you clean, periodically remove any collected dirt or debris from the sponge. This can be done by rinsing the sponge underwater or by gently squeezing it to dislodge the particles.
- Continue cleaning: Repeat the wiping motion with the dry sponge until the surface is clean and free from dirt buildup. If necessary, you can use multiple sponges or flip the sponge to a clean side to ensure thorough cleaning.
A dry sponge is a quick and convenient solution for maintaining surfaces and removing light dirt accumulation. It is especially useful for cleaning countertops, tables, shelves, and other areas that are prone to general dust and debris.
B. Water and Baking Soda Paste for Crayons and Scuff Marks
One effective technique for removing crayons and scuff marks from surfaces is by using water and baking soda paste. Here’s how you can do it:
- Mix equal parts of water and baking soda in a bowl to create a paste-like consistency.
- Apply the paste to the crayon or scuff mark using a clean cloth or sponge.
- Gently scrub the affected area in a circular motion, exerting slight pressure.
- Continue scrubbing until the crayon or scuff mark starts to fade or is completely removed.
- Rinse the area with clean water to remove any residue from the paste.
- Dry the surface with a clean towel or allow it to air dry.

This method is safe to use on most surfaces, but it’s always a good idea to test it on a small, inconspicuous area first to ensure compatibility.
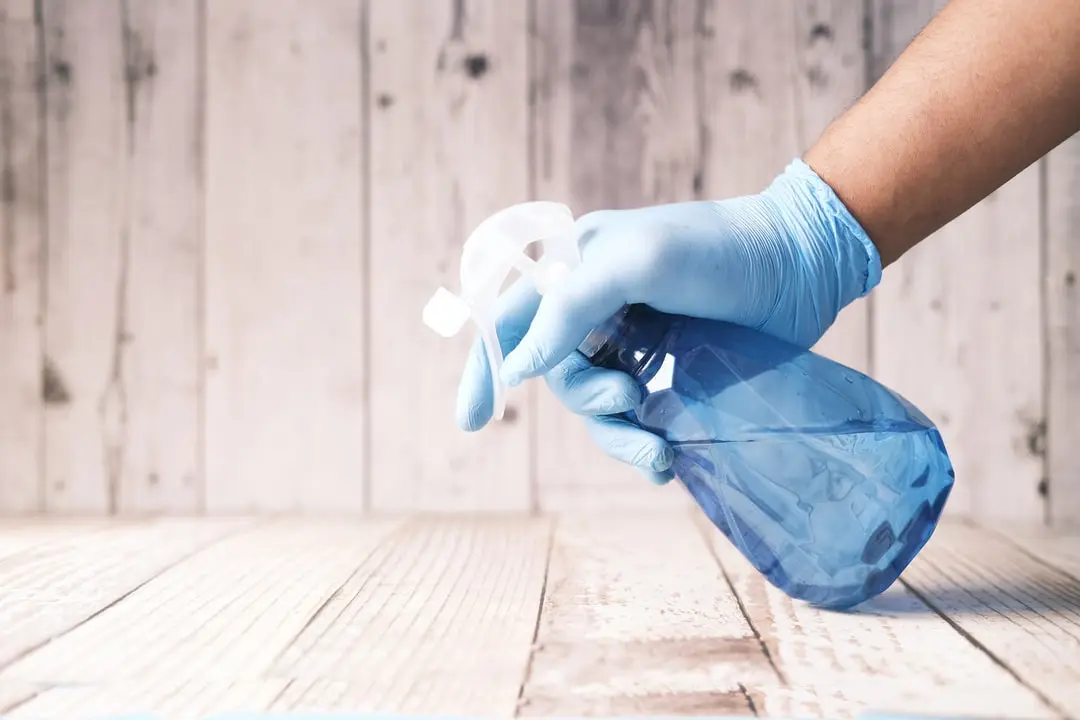
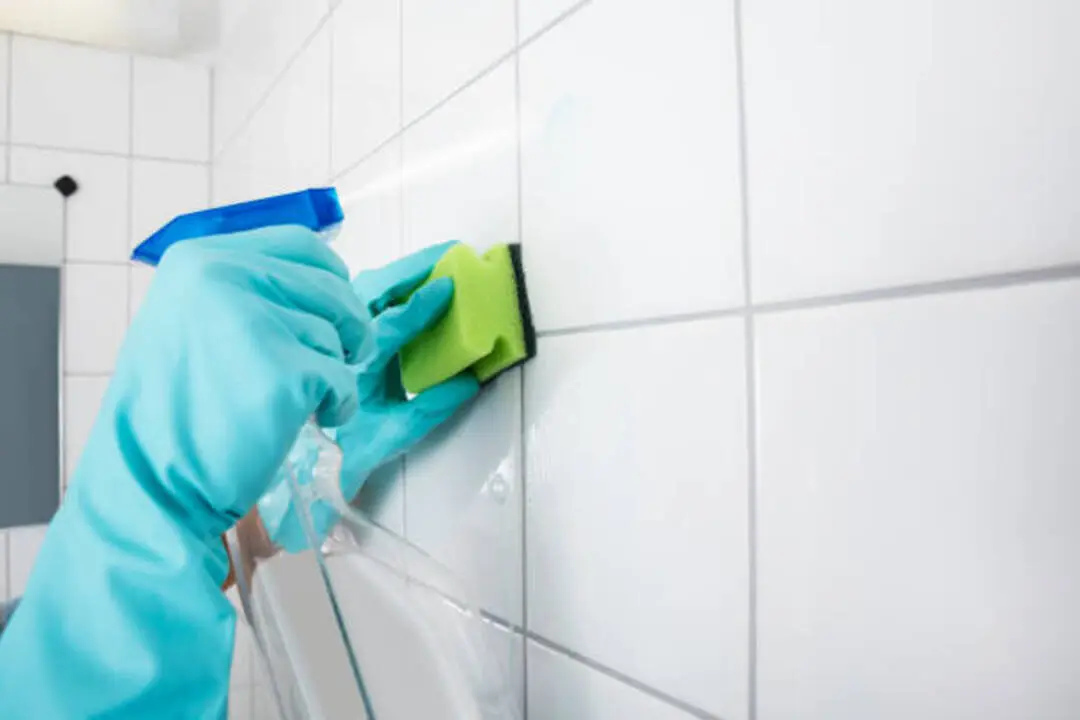
C. Vinegar and Water Cleaner for Challenging Stains
Vinegar is a versatile and effective cleaner that can tackle even the toughest stains. Here’s how to use vinegar and water to remove challenging stains:
- Mix equal parts white vinegar and water in a spray bottle.
- Spray the mixture directly onto the stain, making sure to saturate it thoroughly.
- Let the vinegar and water solution sit on the stain for a few minutes to allow it to penetrate and break down the stain.
- Gently scrub the stained area with a soft brush or cloth to further lift the stain.
- Rinse the area with clean water to remove any residue.
- Repeat the process if necessary until the stain is completely gone.
Vinegar is especially effective for removing stains like grease, coffee, wine, and even mildew. Plus, it’s safe to use on a wide variety of surfaces and fabrics. Remember to always spot-test in an inconspicuous area before using vinegar on delicate materials.
Exterior Stains
A. Vinegar and Water Mixture for Mild Mold or Mildew
Vinegar is a very effective solution for removing mild mold or mildew in your home. Here’s how you can use a vinegar and water mixture to tackle these problems:
- Mix equal parts white distilled vinegar and water in a spray bottle.
- Spray the mixture onto the affected areas, ensuring that they are thoroughly saturated.
- Let the solution sit for at least an hour to allow the vinegar to penetrate and kill the mold or mildew.
- Use a scrub brush or sponge to scrub away the mold or mildew, applying a bit of pressure to remove any stubborn stains.
- Rinse the area with clean water to remove any residue.
- For tough stains, you can repeat the process or use a stronger vinegar concentration.
It’s important to note that vinegar may not be effective for all types of mold or mildew, particularly if the infestation is severe. In such cases, it’s recommended to seek professional help. Additionally, always wear protective gloves, a mask, and goggles when handling mold or mildew to avoid any health risks.
B. Heavy Duty Mixture for Tough Stains
When it comes to tackling tough stains, a heavy-duty mixture can be your best bet. Here’s how you can create a powerful solution to remove stubborn stains:
- Mix one part hydrogen peroxide and two parts dish soap in a small bowl. Make sure to use a strong dish soap that contains grease-fighting agents.
- Apply the mixture directly to the stain and let it sit for about 15 minutes. This will allow the solution to penetrate and break down the stain.
- Gently scrub the stain with a soft brush or sponge, working in a circular motion. Be careful not to scrub too vigorously, as this can damage the material.
- Rinse the area with warm water to remove any residue from the cleaning solution.
- If the stain persists, repeat the process or try using a stain remover specifically designed for tough stains.
Remember to always test the solution on a small, inconspicuous area of the fabric before using it on the stain to ensure it doesn’t cause any discoloration or damage.
C. Oven Cleaner for Driveway Oil Stains
One effective technique for removing driveway oil stains is using oven cleaner. Here’s how to use it:
- Spray: Spray the oven cleaner directly onto the oil stain. Make sure to cover the entire stain with a generous amount of the cleaner.
- Let it Sit: Allow the oven cleaner to sit on the stain for about 10 minutes. This will give the cleaner enough time to penetrate and break down the oil.
- Scrub: After the designated time, use a scrub brush or a stiff bristle brush to scrub the stain. Apply some pressure and scrub in circular motions to effectively remove the oil.
- Rinse: Once the stain has been scrubbed, use a hose or a pressure washer to rinse off the area. Make sure to thoroughly rinse away the oven cleaner and any residue left behind.
- Repeat if Necessary: For stubborn or larger stains, you may need to repeat the process. Apply another round of oven cleaner, let it sit, scrub, and rinse until the stain is completely gone.
Oven cleaner is particularly effective on asphalt driveways, so make sure to use a biodegradable oven cleaner to avoid causing harm to your lawn.
Countertop Stains
A. Baking Soda and Water Paste for Stains on Laminate Countertops
Removing stains from laminate countertops can be a breeze with a simple baking soda and water paste. Here’s how to do it:
- Start by creating a paste by mixing a tablespoon of baking soda with a little water. Make sure the paste has a thick consistency.
- Apply the paste directly onto the stain on your laminate countertop. Spread it evenly and let it sit for a few minutes to allow the baking soda to work its magic.
- Take a clean cloth or sponge and gently scrub the stain in a circular motion. Be careful not to apply too much pressure, as laminate countertops can be easily scratched.
- Rinse the countertop with water to remove any remnants of the baking soda paste. Make sure to wipe it dry with a clean cloth.
This method is particularly effective for removing stains caused by fruit juices or other liquids. The slight abrasiveness of baking soda helps lift the stain without damaging the laminate surface. Remember to always test the baking soda paste on a small, inconspicuous area of the countertop first to ensure it doesn’t cause any discoloration.
B. Bleach-Based Spray for Color Dense Stains on White Countertops
If you have color-dense stains on your white countertops, using a bleach-based spray can be an effective solution to remove them. Here are the steps to follow:
- Prepare the area: Remove any items from the countertop and ensure proper ventilation in the room.
- Wear protective gear: Put on gloves and a face mask to protect yourself from the strong fumes of the bleach.
- Test on a small area: Before applying the bleach-based spray on the entire stain, test it on a small inconspicuous area to ensure it does not damage or discolor the countertop.
- Apply the spray: Spray the bleach-based solution directly onto the stain, making sure to cover the entire affected area.
- Let it sit: Allow the solution to sit on the stain for a few minutes. The recommended time can be found on the product label.
- Scrub the stain: Gently scrub the stained area using a soft cloth or a non-abrasive sponge.
- Rinse thoroughly: Once the stain has been lifted, rinse the countertop with clean water to remove any residue.
- Dry the countertop: Wipe down the countertop with a dry cloth to ensure it is completely dry.
Remember to always read and follow the instructions provided by the manufacturer of the bleach-based spray.
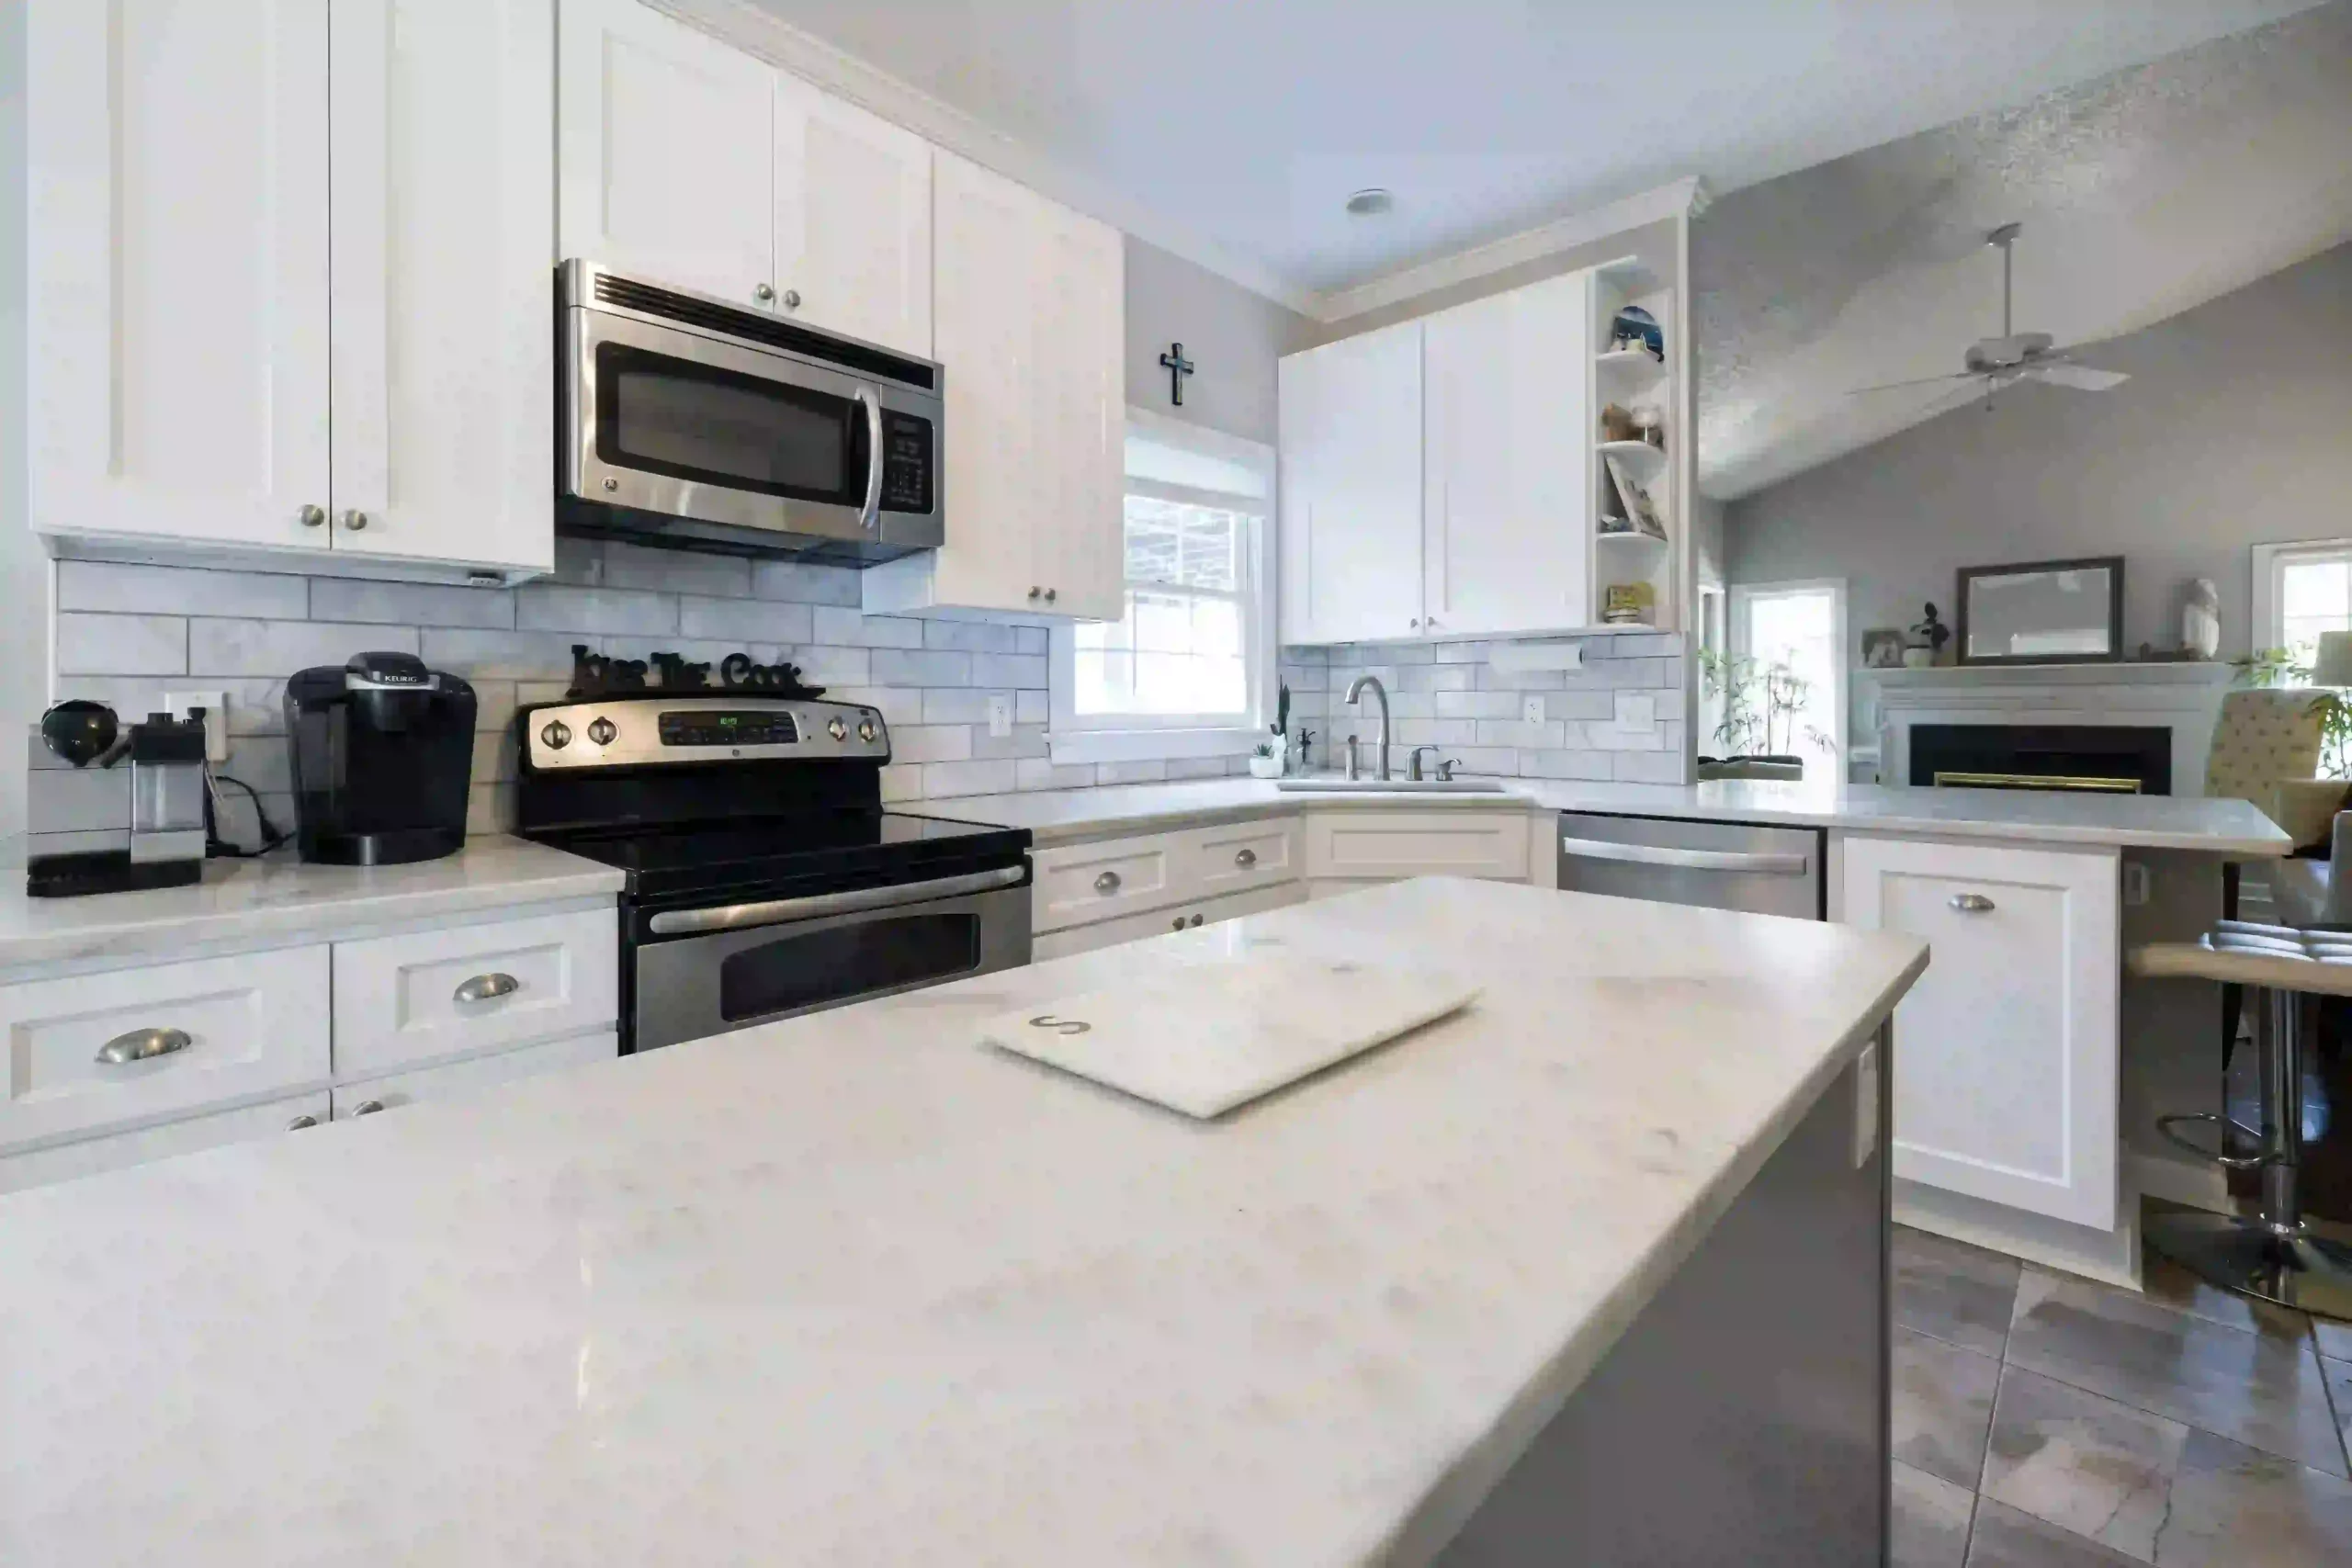
Appliance Stains
A. Lemon and Baking Soda Scrub for Kitchen Appliances
Cleaning kitchen appliances can be a daunting task, especially when it comes to removing stubborn stains and residues. However, with a simple lemon and baking soda scrub, you can easily tackle these stains and leave your appliances looking fresh and clean.
To use this method, follow these steps:
- Cut a whole lemon in half and sprinkle baking soda on the cut section of the lemon.
- Use the lemon itself to scrub your refrigerator, stove, microwave, and other appliances.
- Scrub gently, focusing on areas with stains or residues.
- Wipe away the excess cleaner with a warm cloth, ensuring that all the lemon and baking soda residue is removed.
By using this lemon and baking soda scrub, you can effectively remove dirt, grime, and even cooked-on stains from your kitchen appliances. Additionally, the fresh lemon scent will leave your kitchen smelling clean and refreshed.
B. Lemon Juice and Baking Soda Paste for Glass Dishes
Removal of stains from glass dishes can be effectively done using lemon juice and baking soda paste. This natural stain remover is highly efficient and gentle on glass surfaces. To remove stubborn stains from glass dishes, follow these steps:
- Squeeze lemon juice into a bowl.
- Add baking soda to the lemon juice to create a thick paste.
- Apply the paste to the stained areas of the glass dish.
- Use a soft cloth or sponge to gently scrub the stains in a circular motion.
- Rinse the glass dish with warm water to remove the paste and any remaining stains.
- Dry the dish with a clean cloth.
The citric acid in the lemon juice helps to break down stains, while the abrasive nature of the baking soda helps to lift them off the glass surface. This method is safe and effective for removing stains from glass dishes without the use of harsh chemicals.
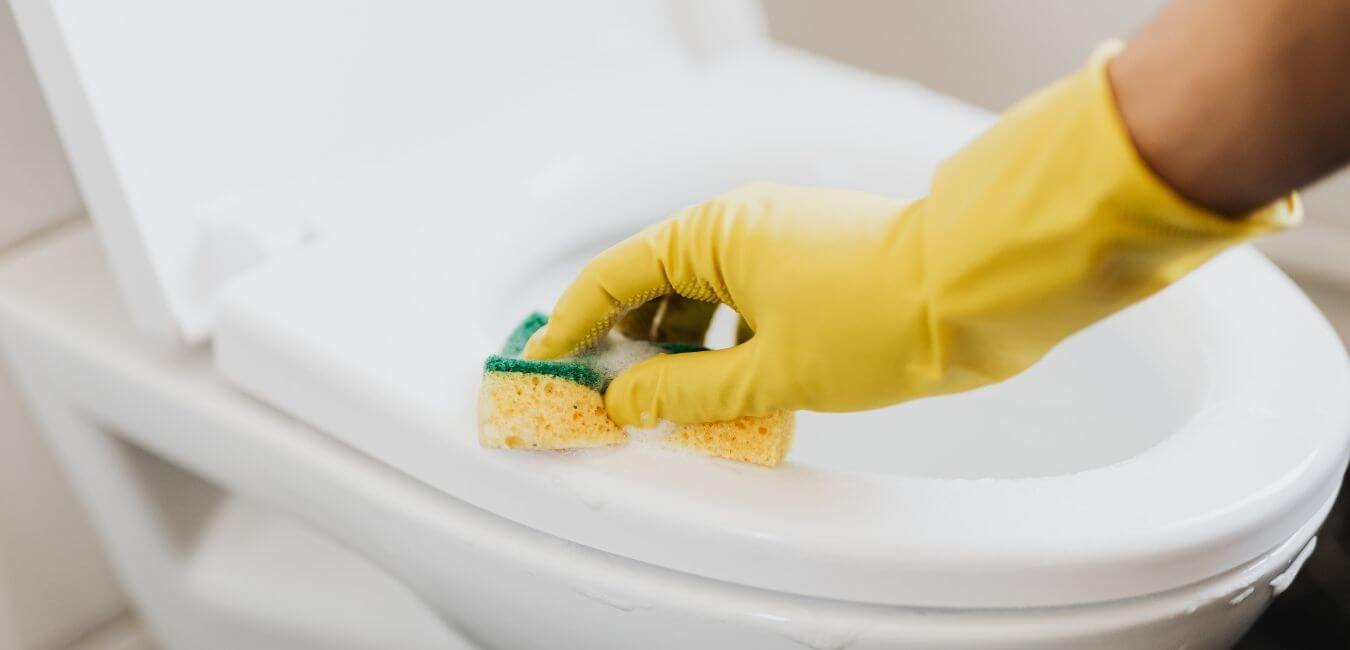
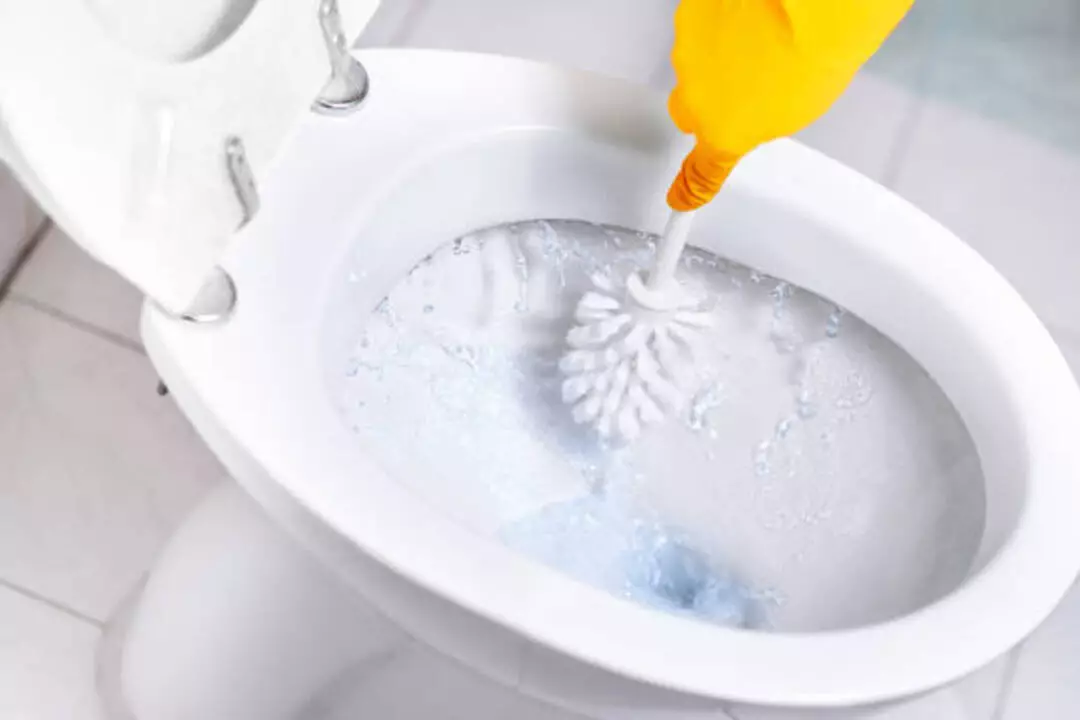
Bathroom Stains
A. Abrasive Powder for Porcelain Bathtubs
When it comes to removing stains from porcelain bathtubs, one effective method is to use an abrasive powder such as Comet. Porcelain tubs have a smooth sheen and luster, and an abrasive powder can help gently remove tough stains without scratching the surface. Here’s how to use an abrasive powder for porcelain bathtubs:
- Wet the surface of the bathtub with water.
- Sprinkle the abrasive powder (such as Comet) onto the stains.
- Use a soft brush or sponge to gently scrub the stains in a circular motion.
- Rinse the bathtub thoroughly with water to remove the abrasive powder and any loosened grime.
- Repeat the process if necessary for stubborn stains.
It’s important to note that while abrasive powders can be effective in removing stains from porcelain bathtubs, it’s always a good idea to test the product in a small, inconspicuous area before applying it to the entire tub. This will ensure that the abrasive powder doesn’t damage the finish of the tub. With proper use, an abrasive powder can be a valuable tool in keeping your porcelain bathtub looking clean and stain-free.
B. Dishwashing Detergent and Hot Water Mixture for Acrylic Bathtubs
Removing stains from acrylic bathtubs can be a tricky task, but using a mixture of dishwashing detergent and hot water can be an effective solution. Here’s how you can do it:
- Fill your bathtub with hot water, making sure it covers the stained area.
- Add a few drops of dishwashing detergent to the water.
- Use a sponge or a soft cloth to scrub the stained area gently in circular motions.
- Rinse the bathtub thoroughly with clean water to remove any residue.
- Dry the acrylic surface with a soft towel.
It’s important to note that abrasive brushes or scouring powders should be avoided as they can scratch the acrylic surface. Dishwashing detergent is a gentle yet effective option that can help remove stains without damaging the bathtub. Regular maintenance and cleaning can help prevent the buildup of tough stains, ensuring that your acrylic bathtub stays looking clean and pristine for years to come.
Clothing Stains
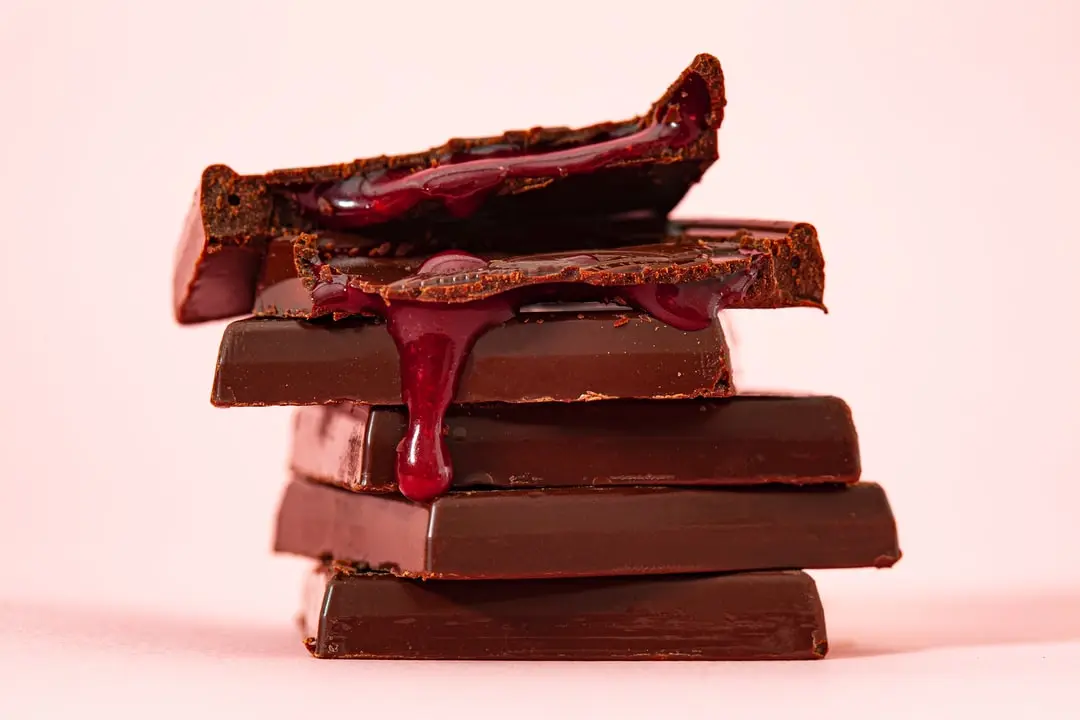
A. Soft Cloth and Club Soda for Restaurant Stains
If you’ve ever spilled food or drinks on your clothes while dining out, then you know how frustrating it can be to try and remove those stains. Luckily, a simple solution for restaurant stains is using a soft cloth and club soda. Here’s how you can effectively tackle those pesky stains:
- Blot the stained area: First, gently blot the stain with a clean, soft cloth to remove any excess food or liquid.
- Pour club soda on the stain: Next, pour a small amount of club soda directly onto the stain. Make sure to saturate the entire area.
- Rub the stain: Using the same soft cloth, gently rub the stained area in a circular motion. The club soda will help to lift and remove the stain.
- Repeat if necessary: If the stain is stubborn, you may need to repeat the process of pouring club soda and rubbing the stain until it is completely gone.
- Rinse and dry: Once the stain is removed, rinse the area with cold water to remove any remaining club soda. Finally, let the fabric air dry or follow the recommended care instructions.
Using club soda and a soft cloth can be an effective and convenient way to remove restaurant stains. So, the next time you find yourself with a pesky stain, remember this simple technique.
B. Lemon Juice and Cream of Tartar for Home Stains
One effective stain removal technique every homeowner should know is using lemon juice and cream of tartar. This combination is particularly helpful in removing various stains around the house, including:
- Ink stains on clothing: Mix cream of tartar with lemon juice and dab it onto the ink stain. Let it sit for three hours before washing as usual.
- Dirty grout: Combine two parts cream of tartar with one part white vinegar to form a paste. Use an old toothbrush to scrub the paste onto the dirty grout and let it sit for 10 minutes before wiping it away.
- Grimy kitchen appliances: Mix a quarter cup of cream of tartar with a tablespoon of water. Apply the mixture to scuffs and dings on appliance surfaces in circular polishing motions, then wipe it away with a clean cloth.
- Bathroom surfaces: Mix equal parts cream of tartar and white vinegar to create a heavy-duty cleaning paste. Apply onto bathroom surfaces with a scrub brush or sponge, then wipe off with a damp cloth.
- Coffee maker: Fill the coffee maker with water and add two to three teaspoons of cream of tartar. Run the coffee maker with this mixture and let it sit for 10 minutes before pouring out the mixture and scrubbing any residue.
- Fireplace stains: Combine two parts cream of tartar with one part water to make a paste. Spread the paste over the dirtied area of the fireplace and let it sit for 10 minutes before wiping it away with a damp cloth.
By using lemon juice and cream of tartar, homeowners can effectively remove stains and grime from various surfaces around their homes.
C. Toothpaste and Toothbrush for Grass Stains
If you’re dealing with grass stains, you can try using toothpaste and a toothbrush to remove them. Here’s how you can effectively use this method:
- Apply a small amount of toothpaste directly onto the grass stain.
- Take a toothbrush with medium to hard bristles and gently scrub the stain in circular motions.
- Continue scrubbing until the stain starts to loosen and fade.
- Rinse the fabric with cold water to remove any excess toothpaste.
- Launder the item as usual, following the care instructions.
Toothpaste contains mild abrasives that can help break down the chlorophyll in grass stains and lift them from the fabric. The toothbrush provides additional scrubbing power to help remove the stain effectively. This method is particularly useful for smaller grass stains on clothing or fabric surfaces.
Remember to always test the toothpaste on a small, inconspicuous area of the fabric before using it on the stain to ensure it doesn’t cause any damage or discolor.
D. Hydrogen Peroxide for Blood Stains
Removing blood stains can be a daunting task, but with the right technique, it can be easily tackled using hydrogen peroxide. Here’s how you can remove blood stains with hydrogen peroxide:
- Start by applying a generous amount of hydrogen peroxide directly to the blood stain.
- Use an old toothbrush to scrub the area, ensuring that the peroxide penetrates deep into the fabric fibers.
- Allow the hydrogen peroxide to sit on the stain for about 10-15 minutes, allowing it to break down the proteins in the blood.
- Rinse the stained area and surrounding area thoroughly with cold water, evaluating the progress.
- If the stain persists, add a drop of dish soap and sprinkle some baking soda over the stain, scrubbing it gently with the toothbrush. Rinse with cool water.
- Finally, wash the item in the washing machine with cool water and your regular laundry detergent.
Hydrogen peroxide works effectively on fresh blood stains, breaking down the chemical compounds that cause the stain to cling to the fabric. Remember to treat blood stains as soon as possible, as fresh stains are easier to remove than dried ones.
Conclusion
Key Points
Stains can be a hassle to deal with, but with the right techniques, you can effectively remove them. Here are some key points to keep in mind:
- Act quickly: Scrape off solids with a blunt knife and blot liquids with absorbent paper.
- Use the right materials: Different stains require different approaches. Some common stain removal techniques include using water and vinegar solutions, paper towels for viscous substances, dry sponges for general dirt buildup, and water and baking soda paste for crayon and scuff marks.
- Consider the surface: Different surfaces may require different stain removal methods. For example, use an oven cleaner for driveway oil stains, baking soda, and water paste for stains on laminate countertops, and dishwashing detergent and hot water mixture for acrylic bathtubs.
- Be cautious with fabrics: Some fabrics may require special treatment. For example, a toothpaste and toothbrush can be used for grass stains, hydrogen peroxide is effective on blood stains, and baby powder can help remove grease stains from clothes.
- Follow instructions: Always read and follow the instructions on the product labels to ensure safe and effective stain removal.
Remember, prevention is always better than cure, so try to deal with stains as soon as possible to avoid permanent damage.